
神奈川県伊勢原市のニチハ横暖ルーフαS屋根カバー工法工事の現場レポートをお伝えします!
屋根カバー工法の内容につきましては下記ページをご覧ください。
🔗屋根カバー工法について
目次
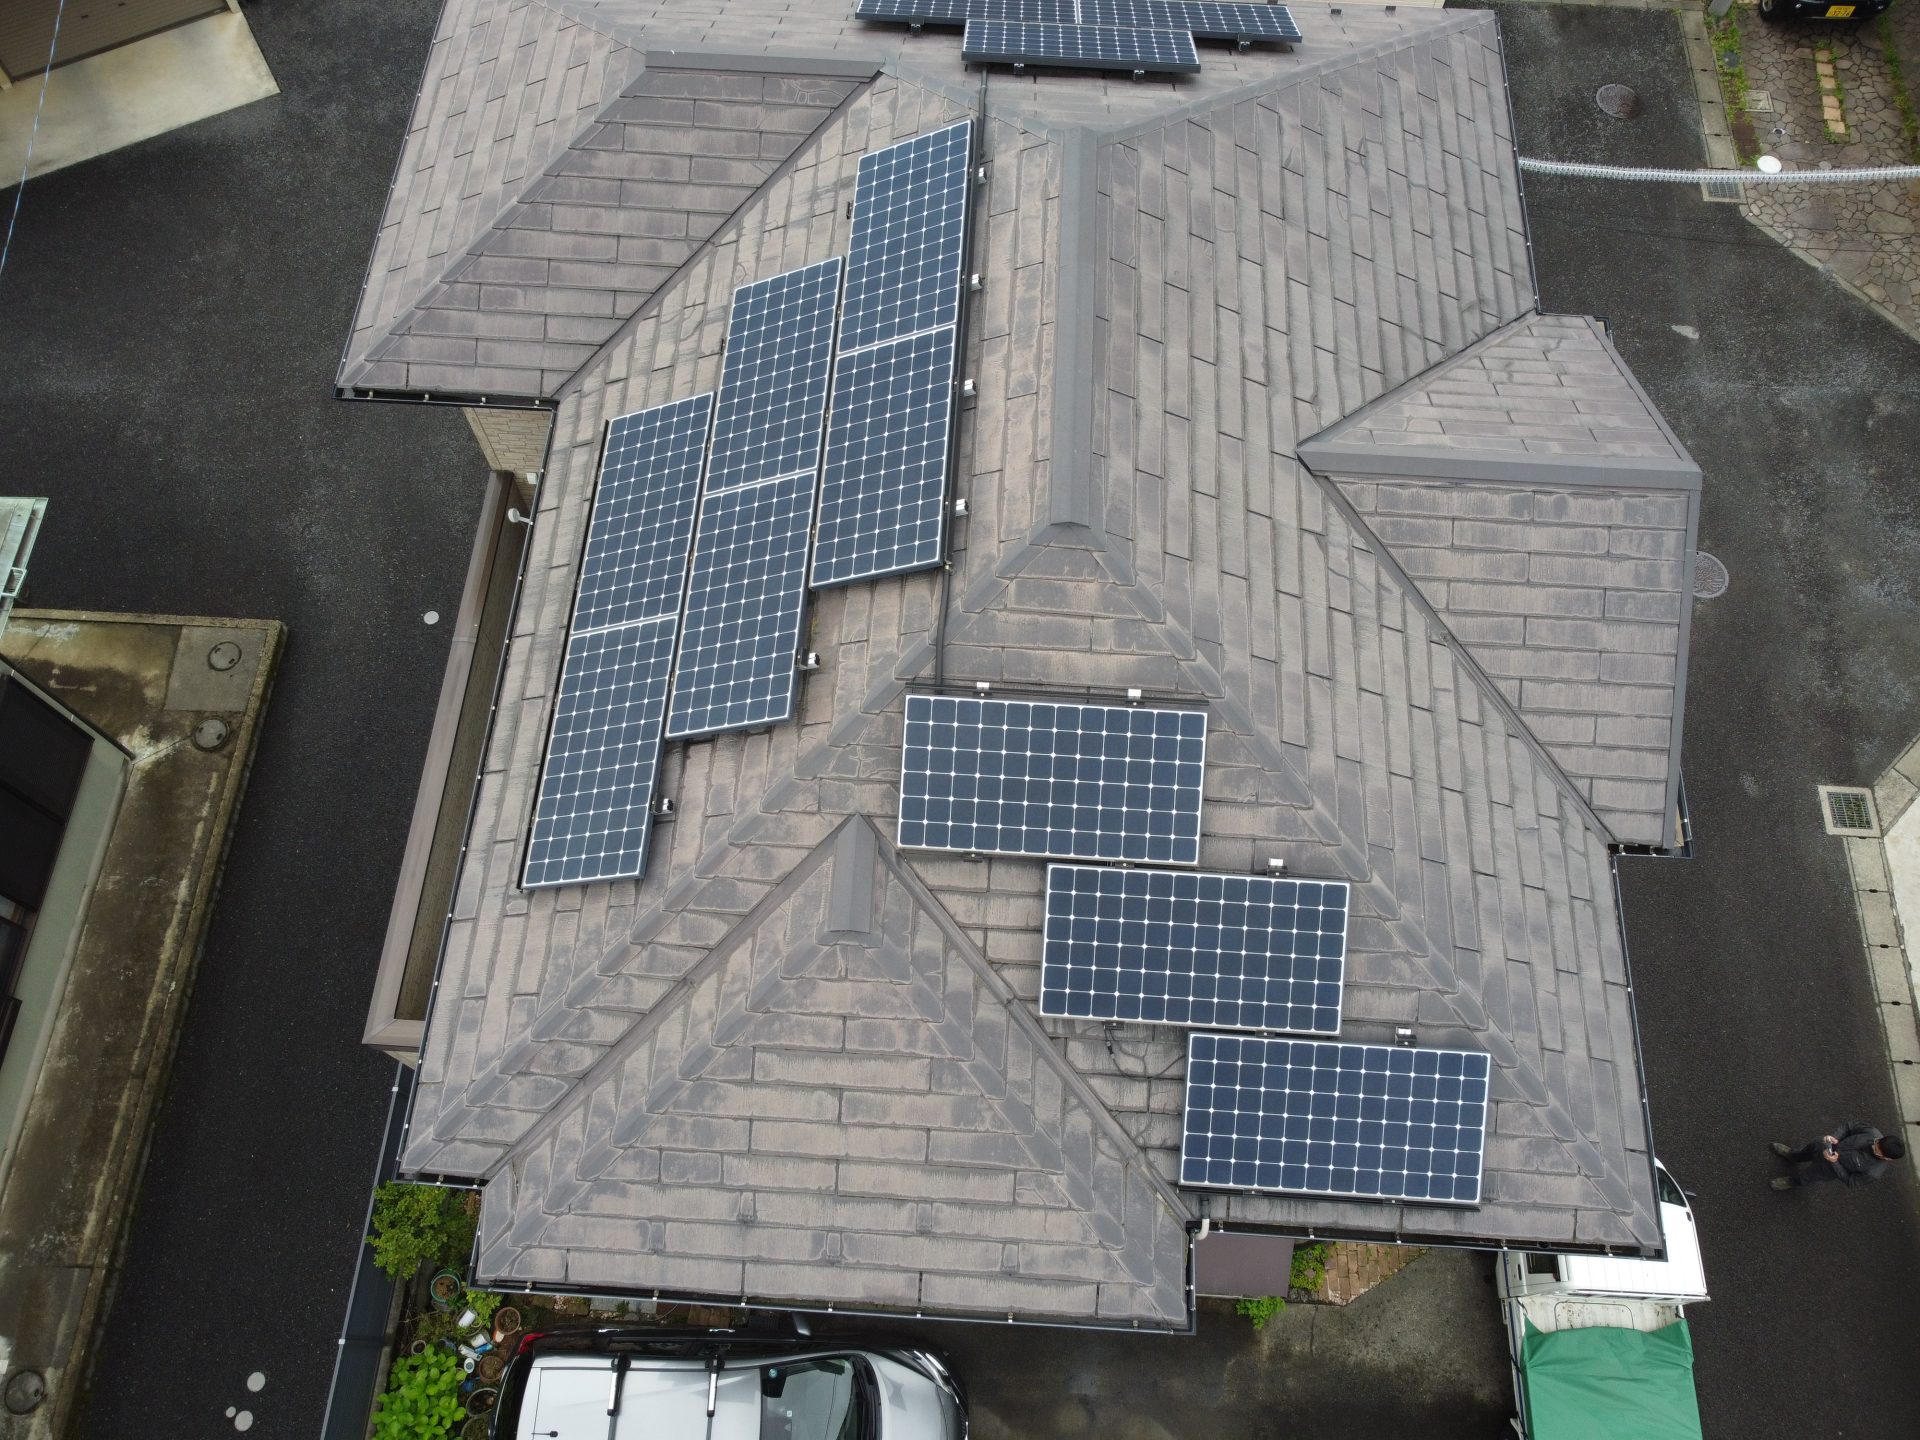
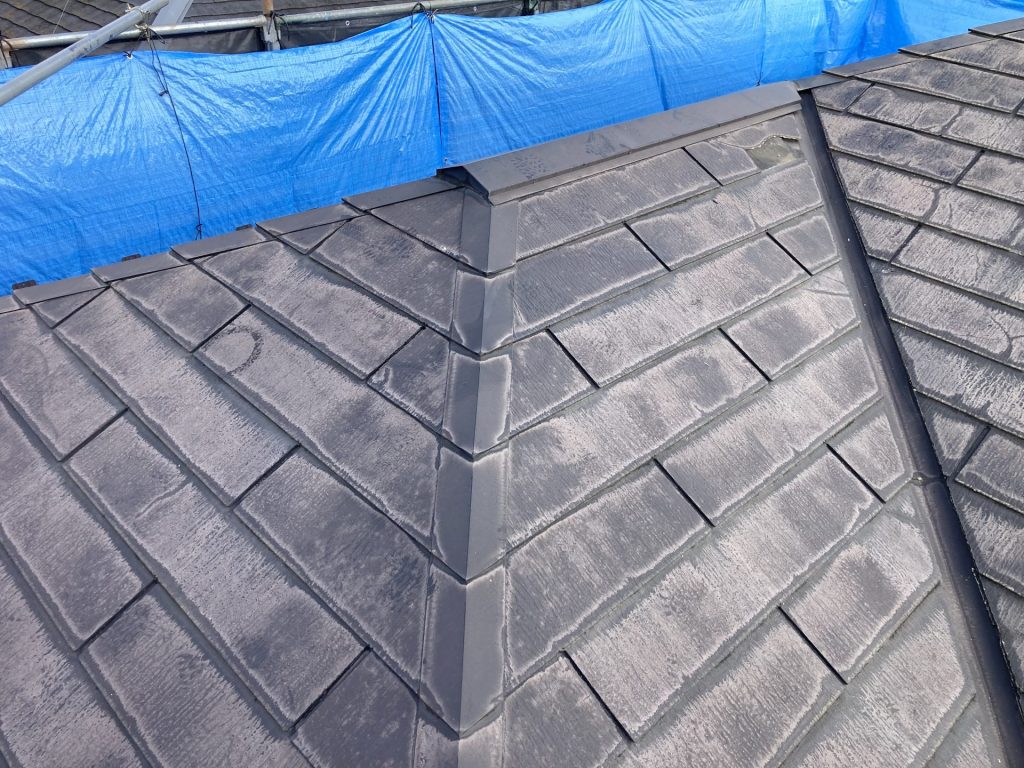
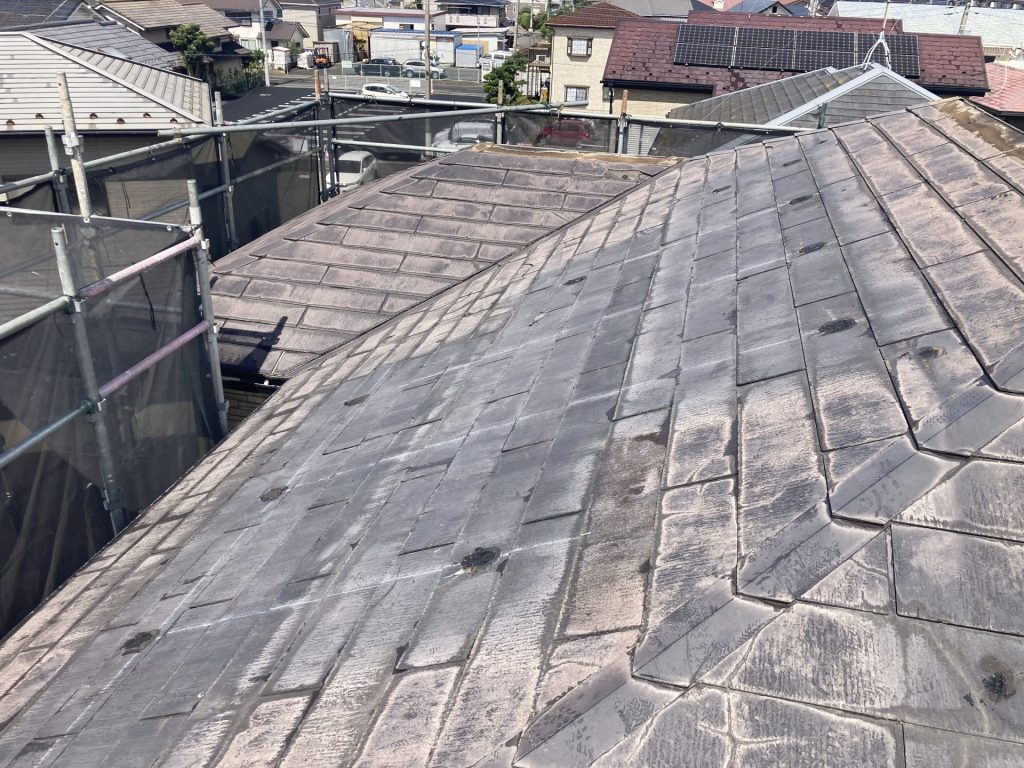
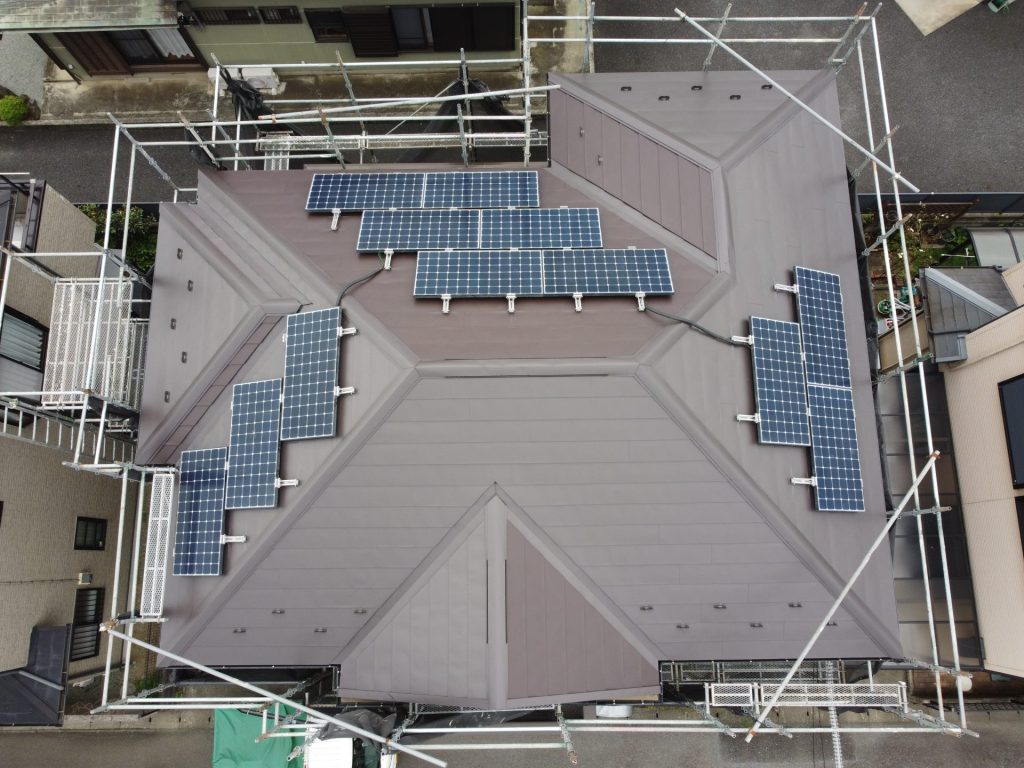
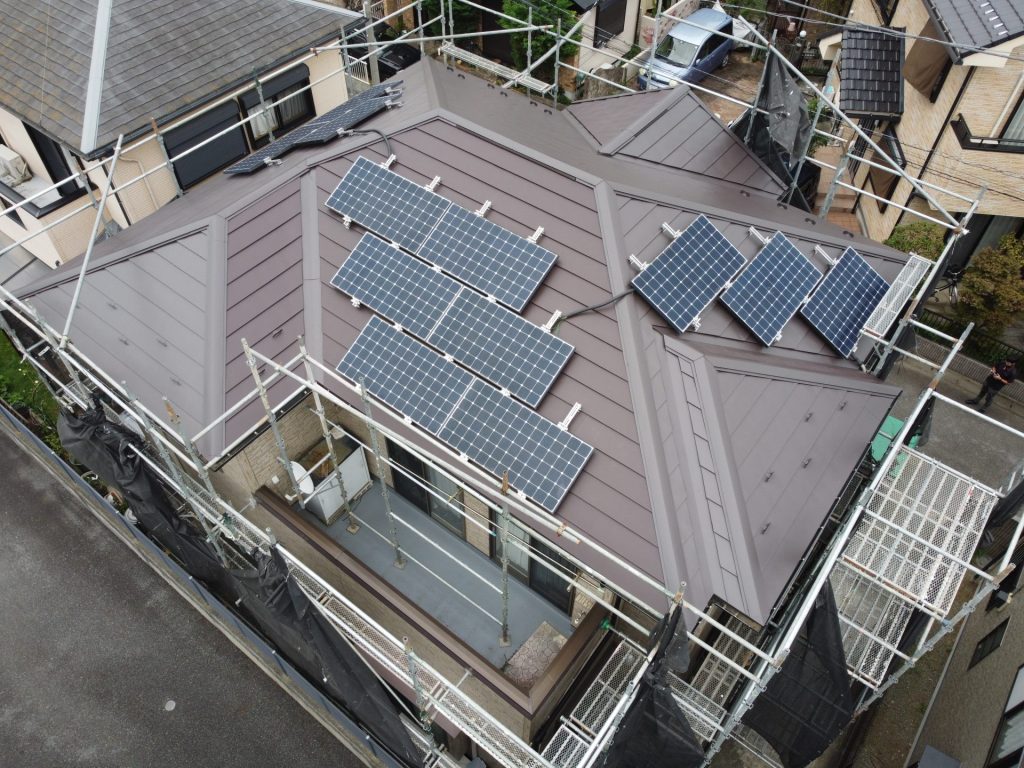
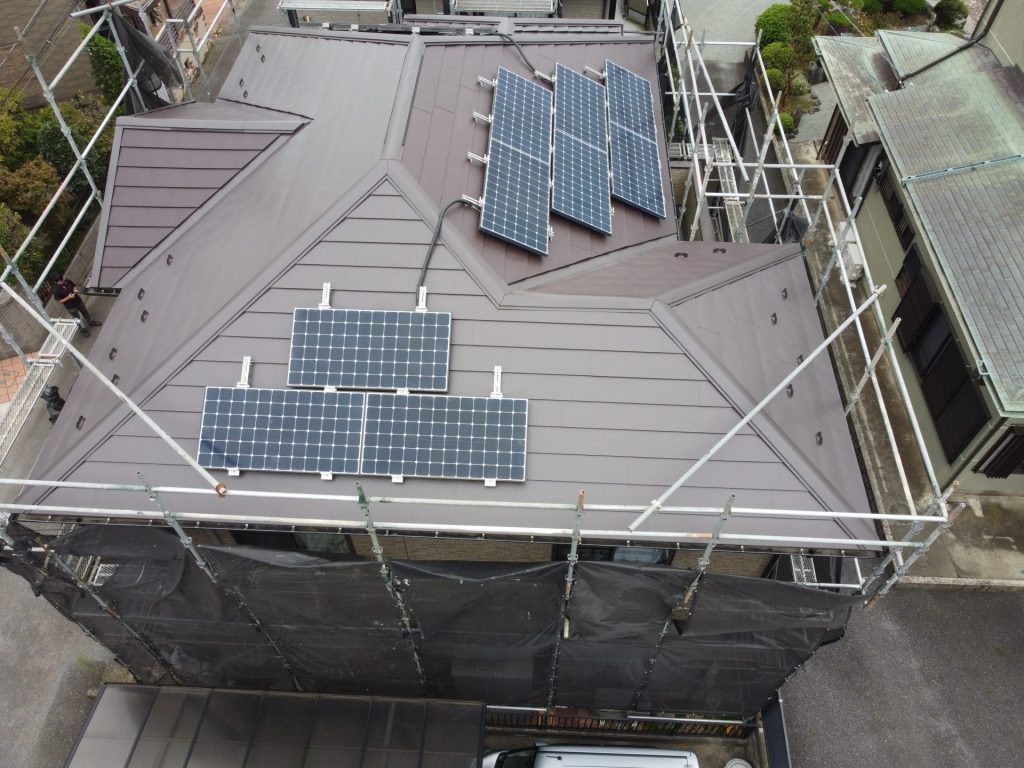
①着工前の屋根の状況
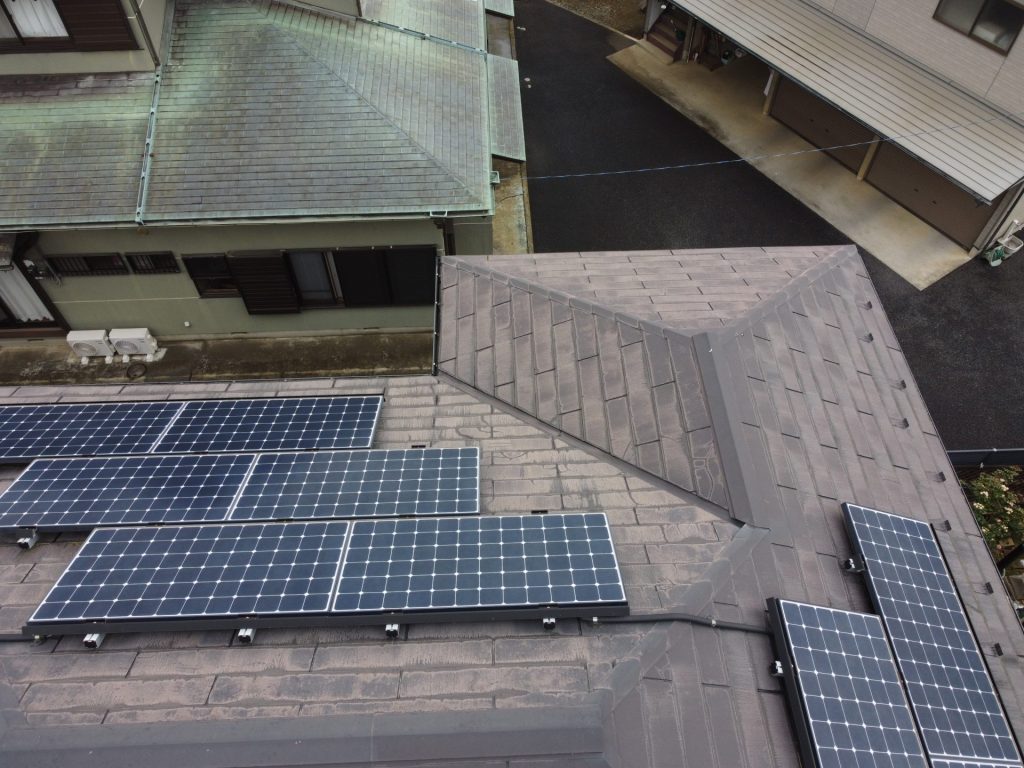
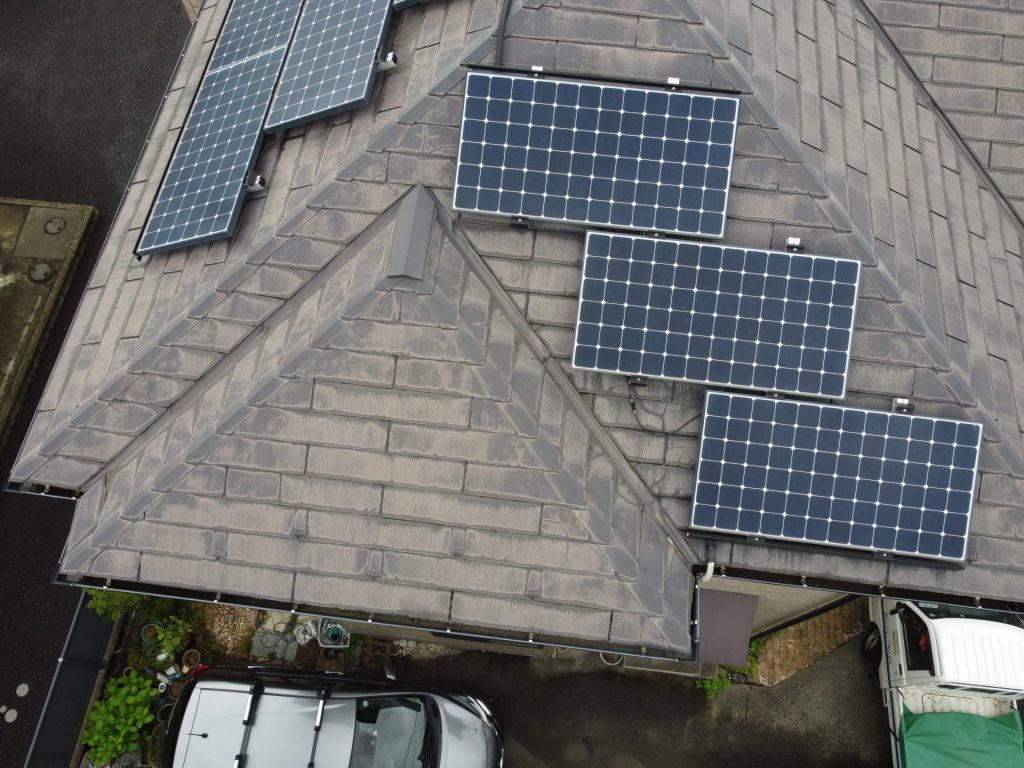
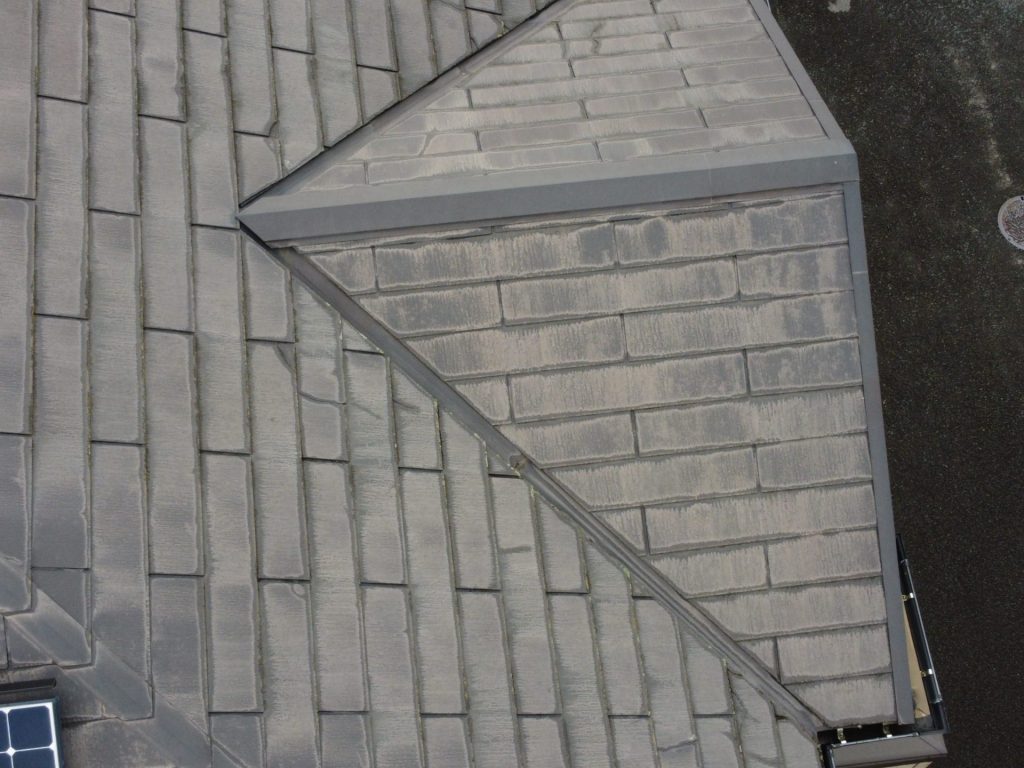

着工前の屋根の状態になります。屋根部材はコロニアルを使用しており全体的に色褪せやところどころにヒビが見当たります。
屋根上には太陽光パネルが設置されています。
②太陽光パネル解体
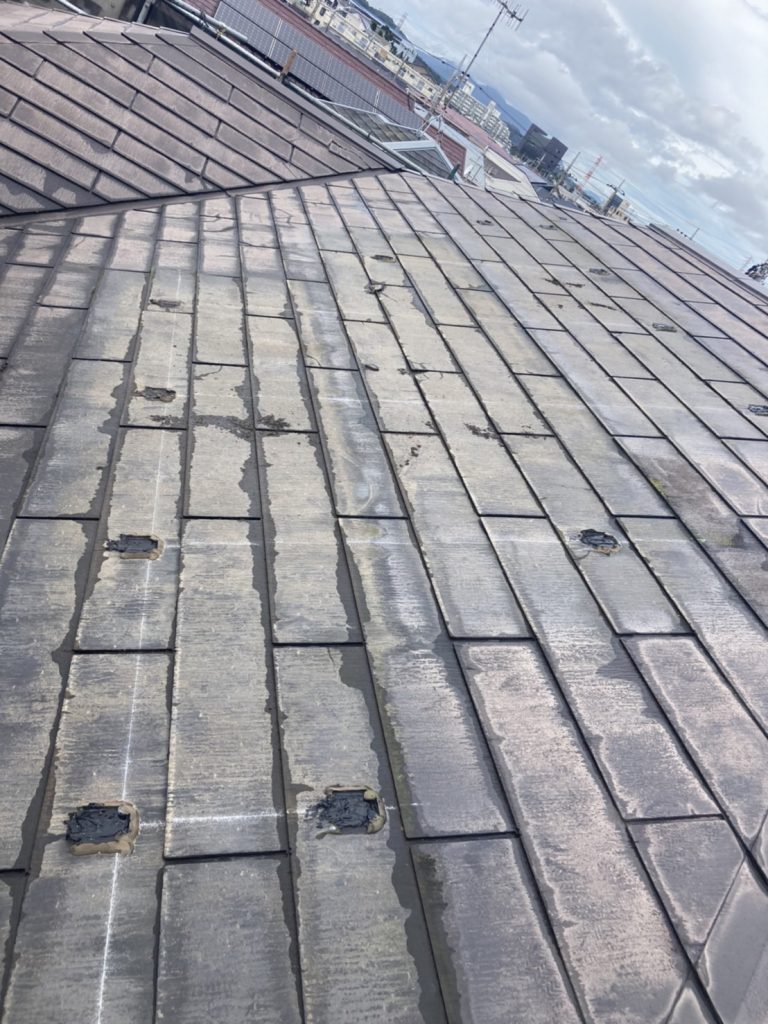
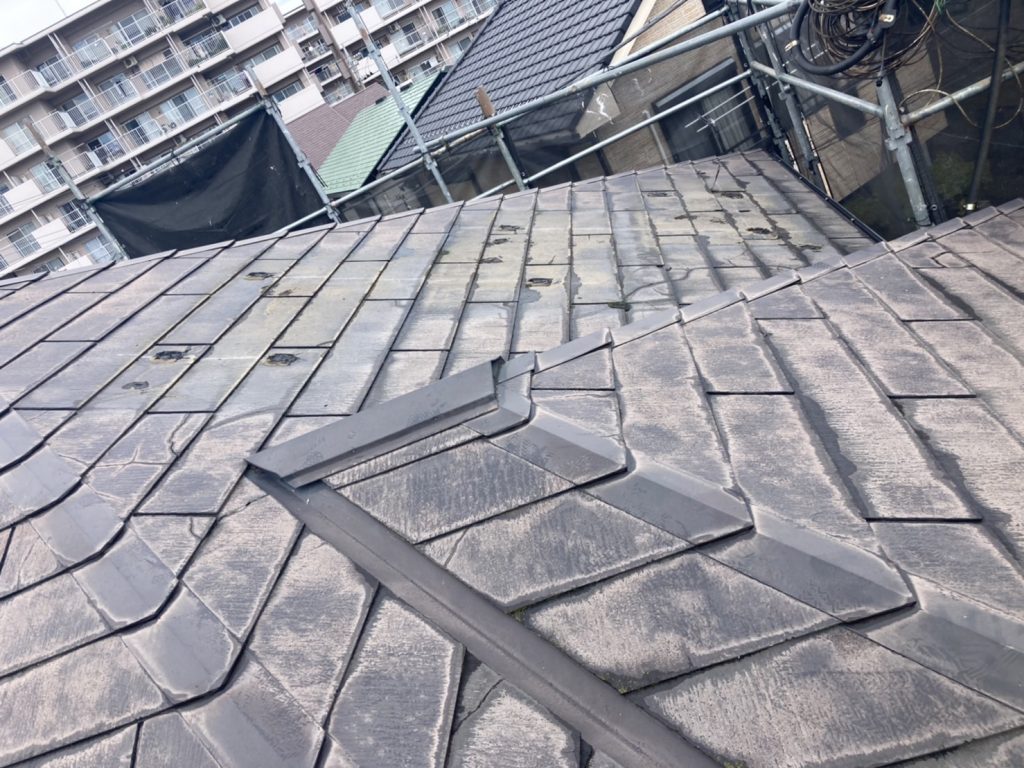
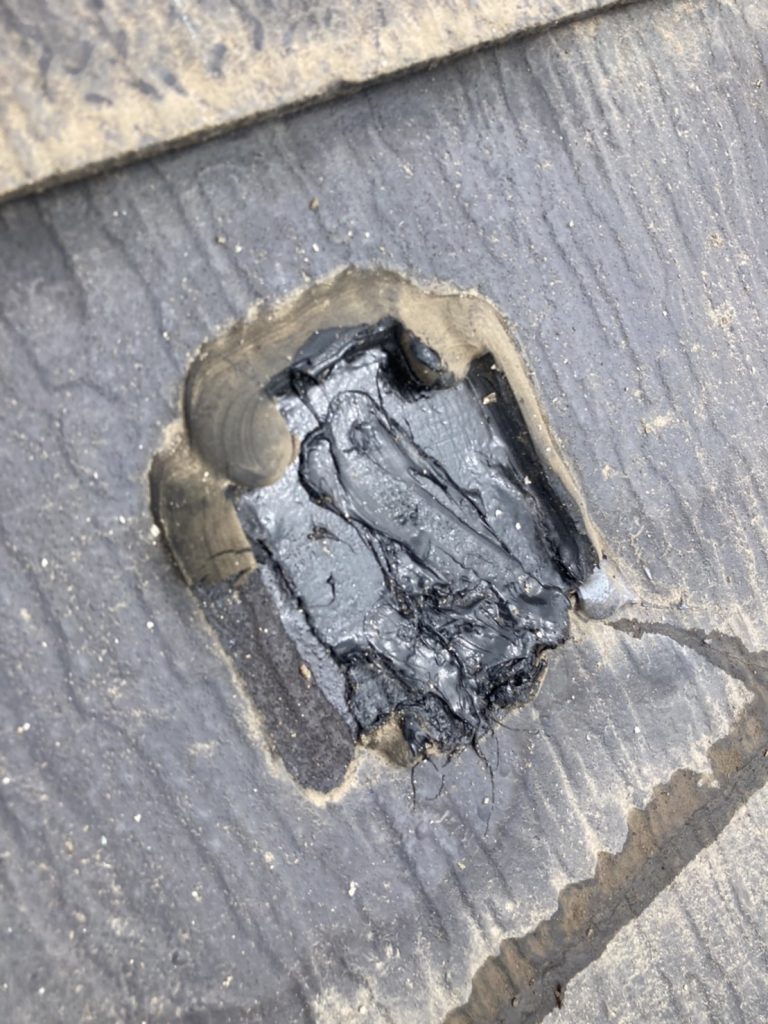
太陽光パネルの取り外しを行いました。
右の写真は太陽光パネル設置場所にはシールの残痕になります。
→シールもきれいに取り外します!
③屋根の高圧洗浄
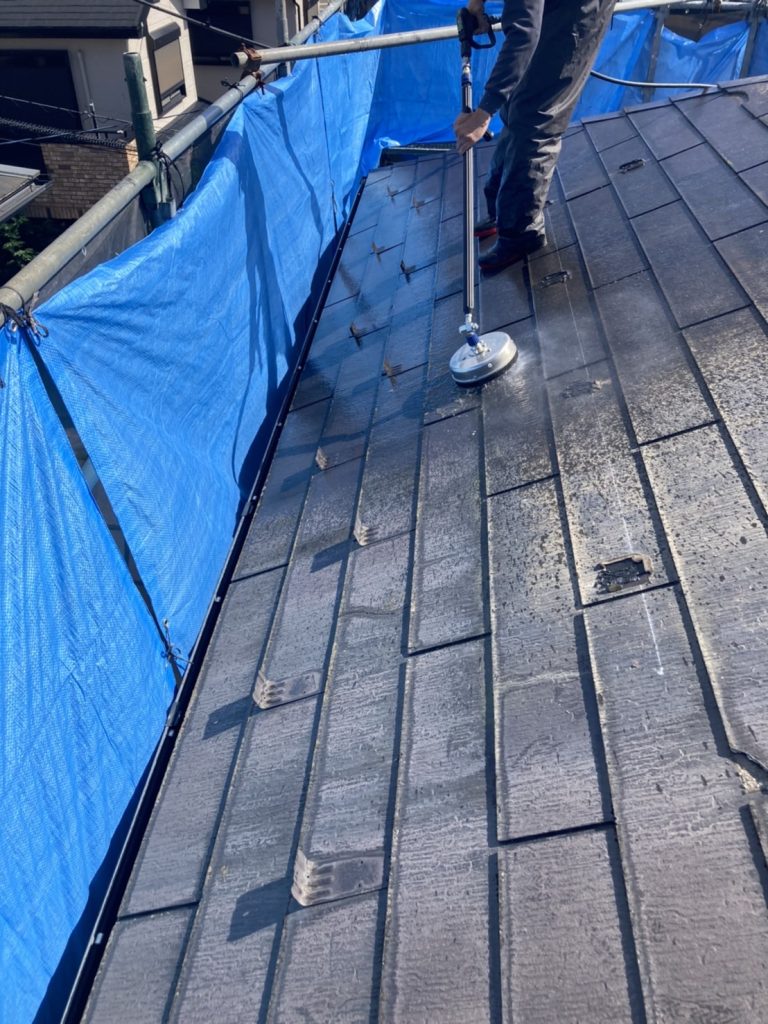
屋根の高圧洗浄を行います。
高圧洗浄は近隣に水しぶきやゴミ等が飛散しない様にしっかり養生をして行います。
高圧洗浄の工具も水しぶきを抑えられる工具を使用し、一枚一枚丁寧に洗浄します。
④ルーフィング施工
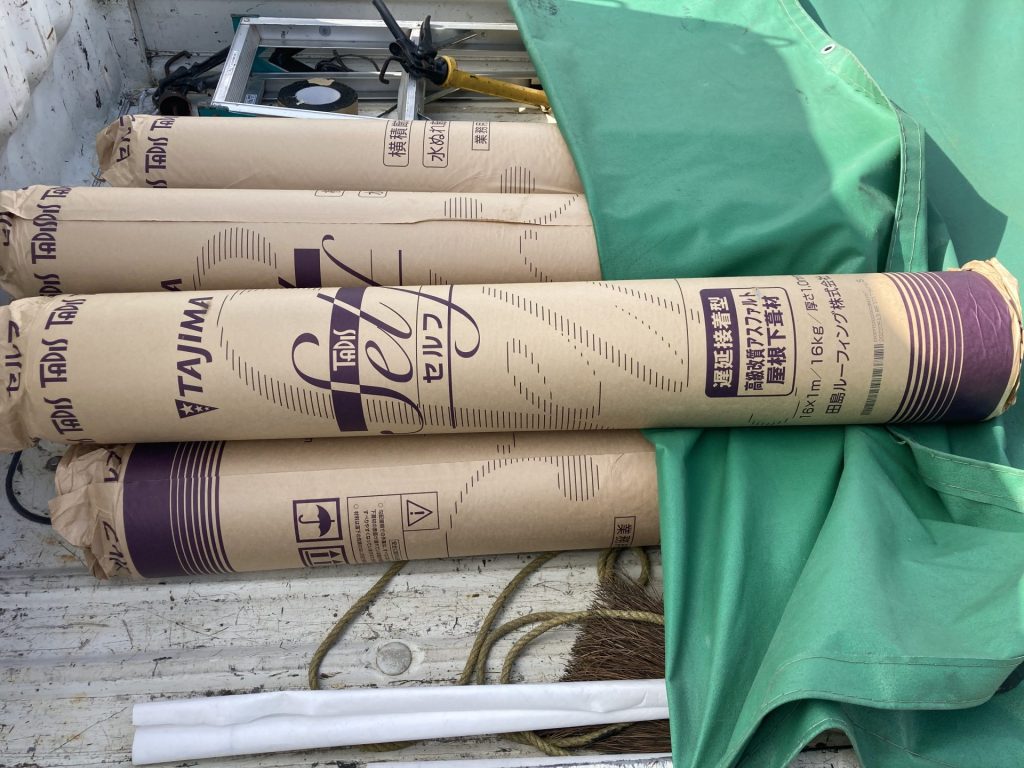

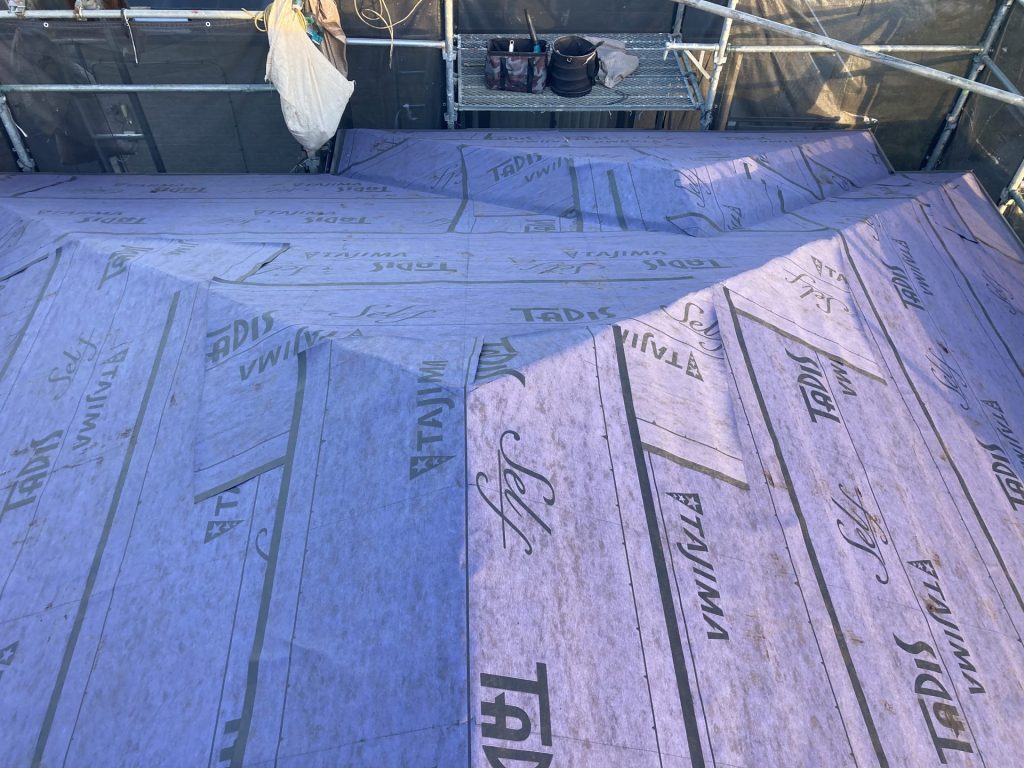
屋根をきれいにした後、ルーフィング施工を行います。
ルーフィングはTAJIMAのTADIS セルフを使用します。TADISセルフは自着式のルーフィングになります。
⑤谷板金工事
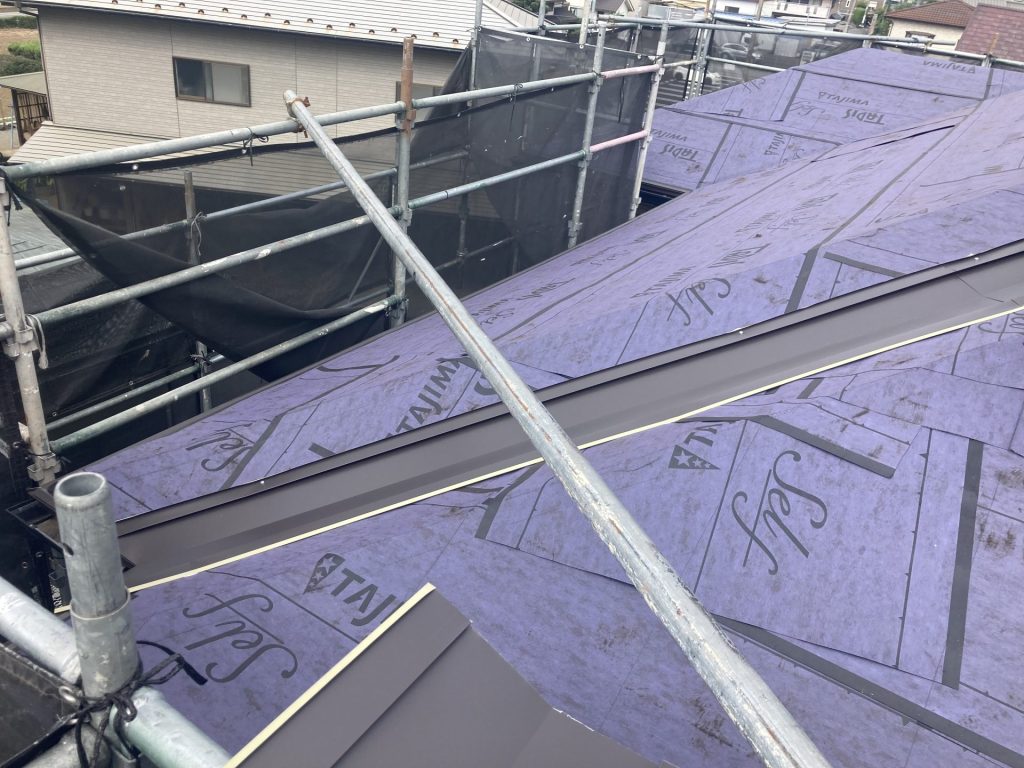
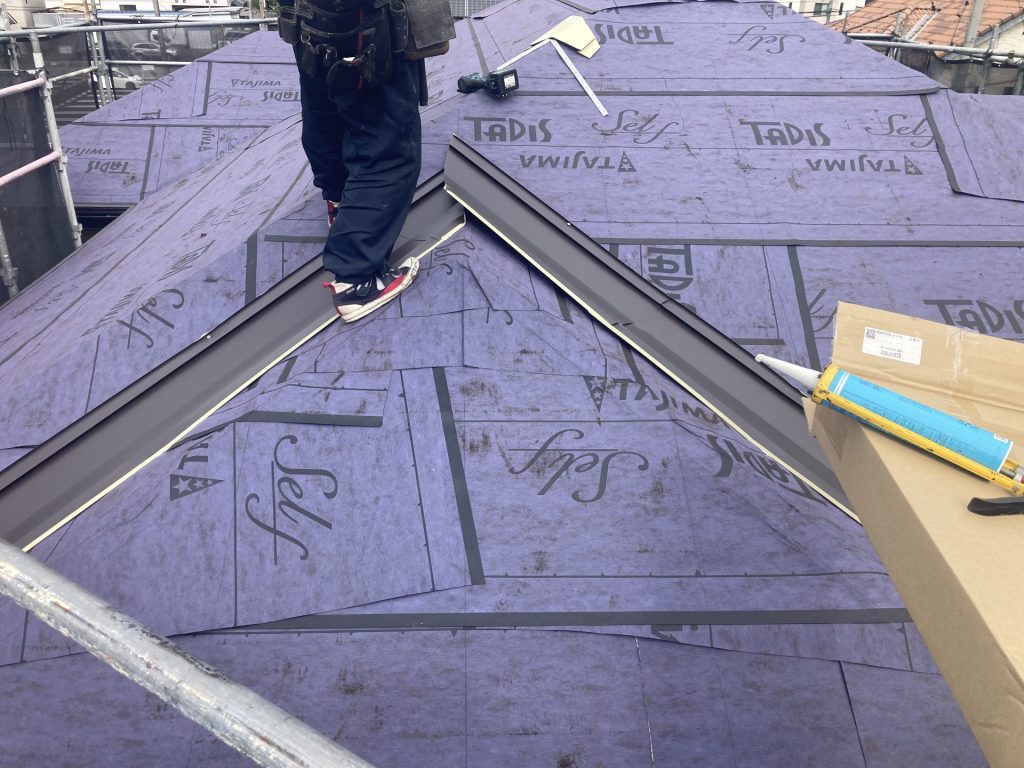
雨漏れ防止のため、屋根の谷部分に板金を施工します。
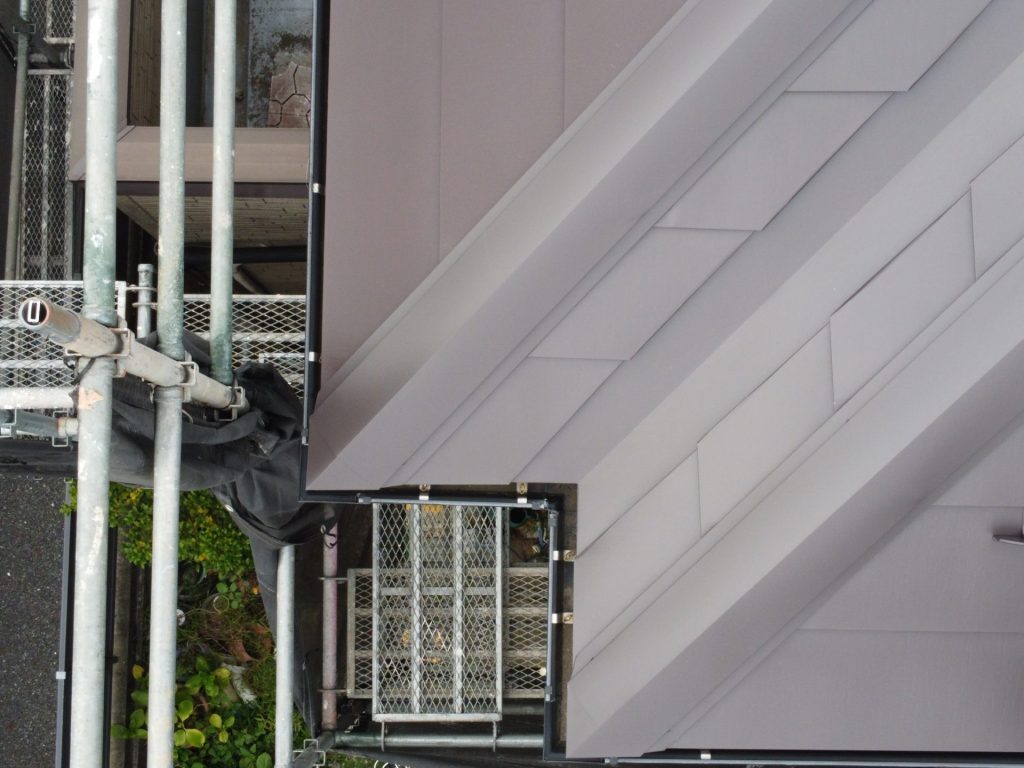
⑥本体工事

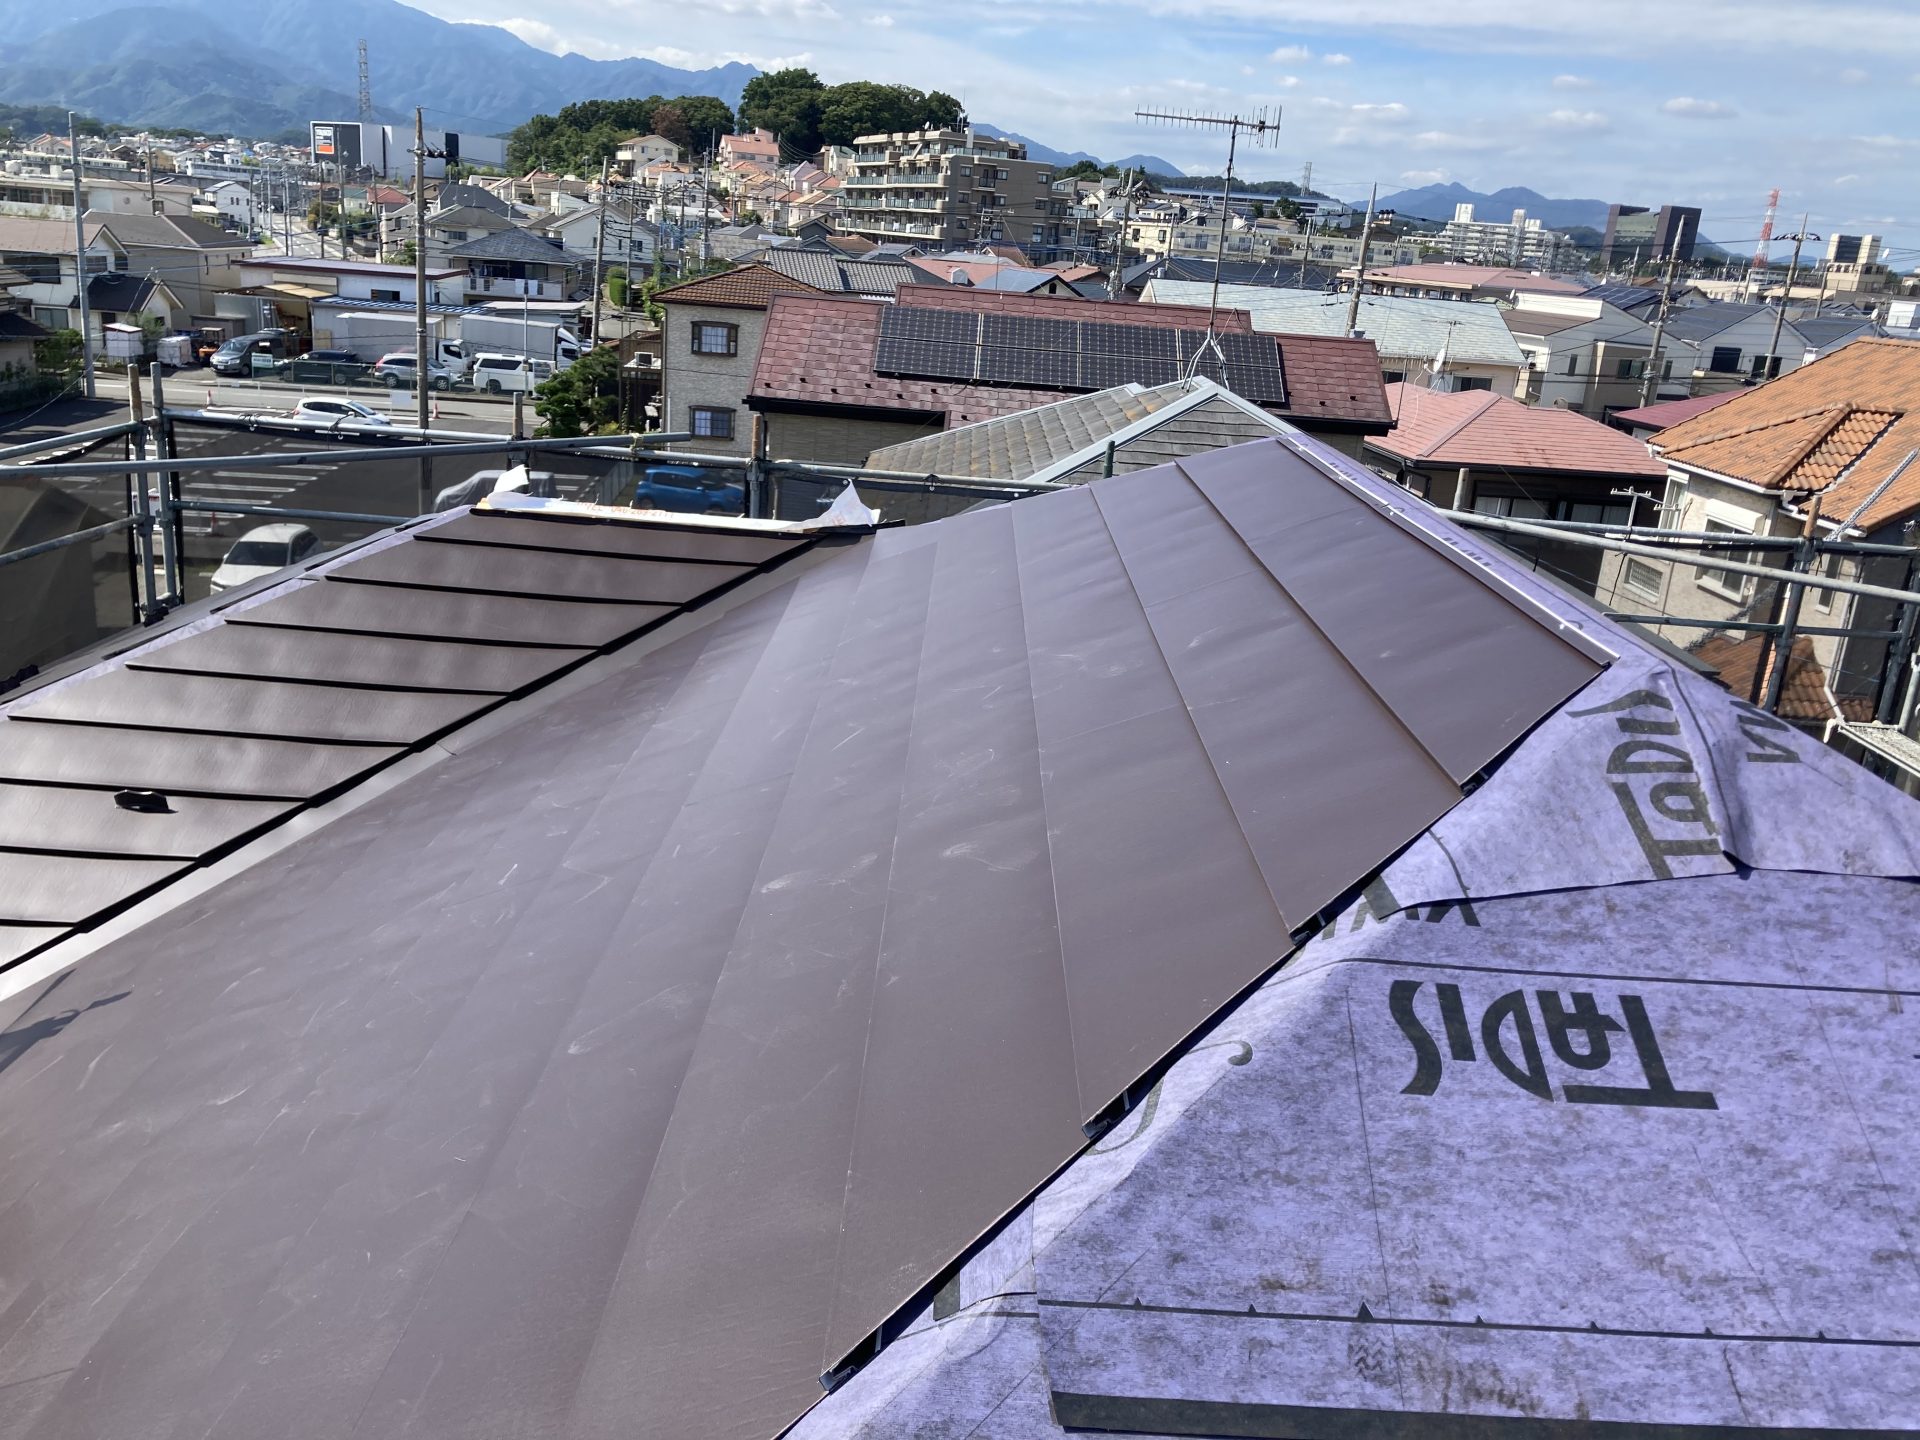
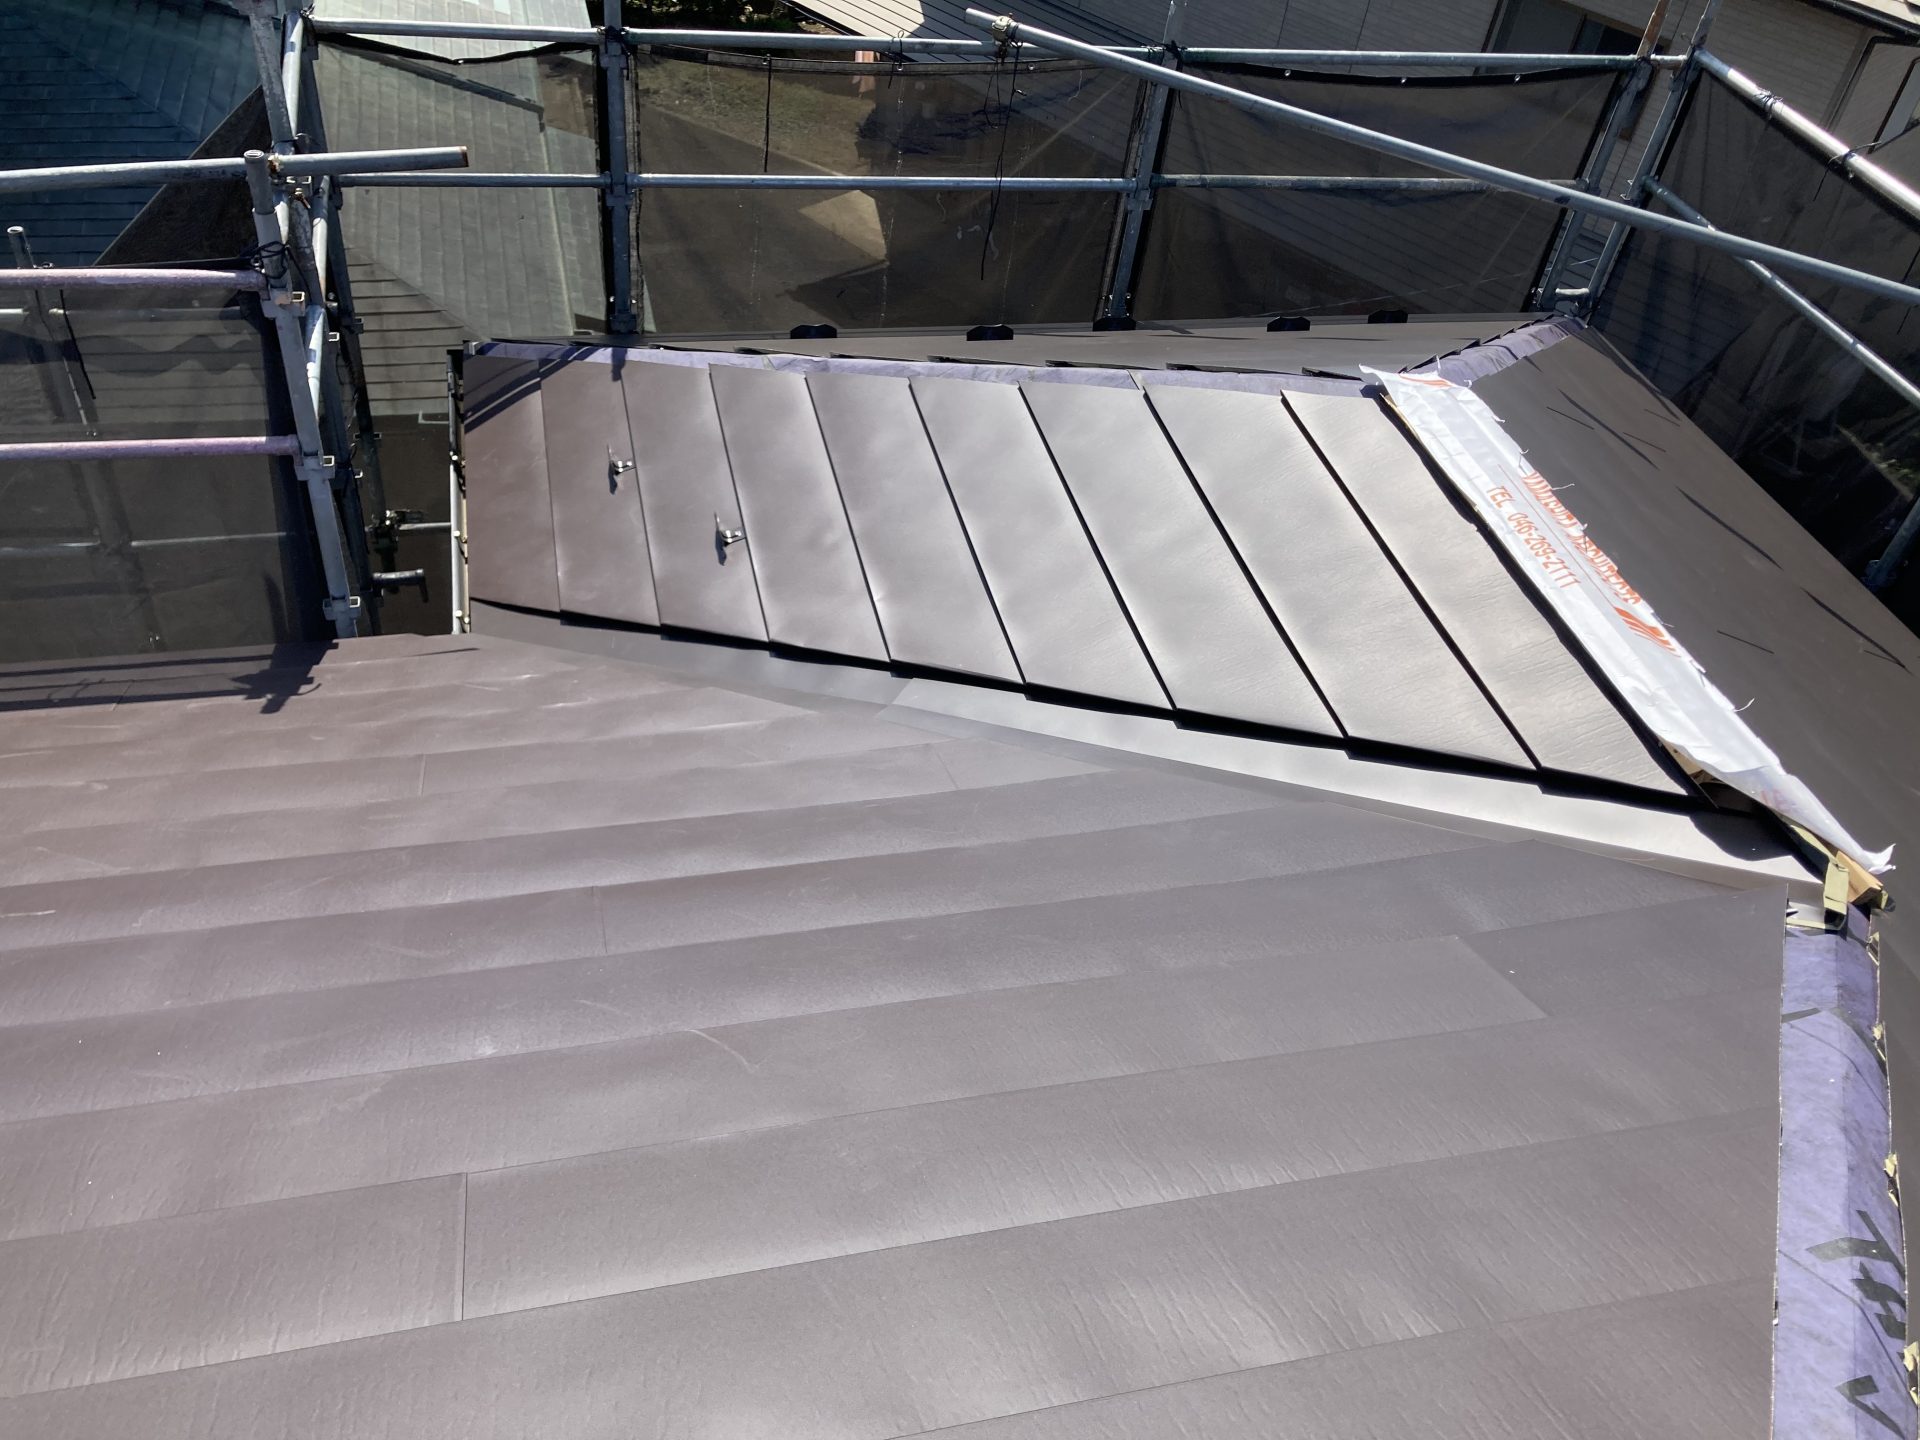
本体(ニチハ 横暖ルーフαS)を軒先から一枚づつ重ねて引いていきます。
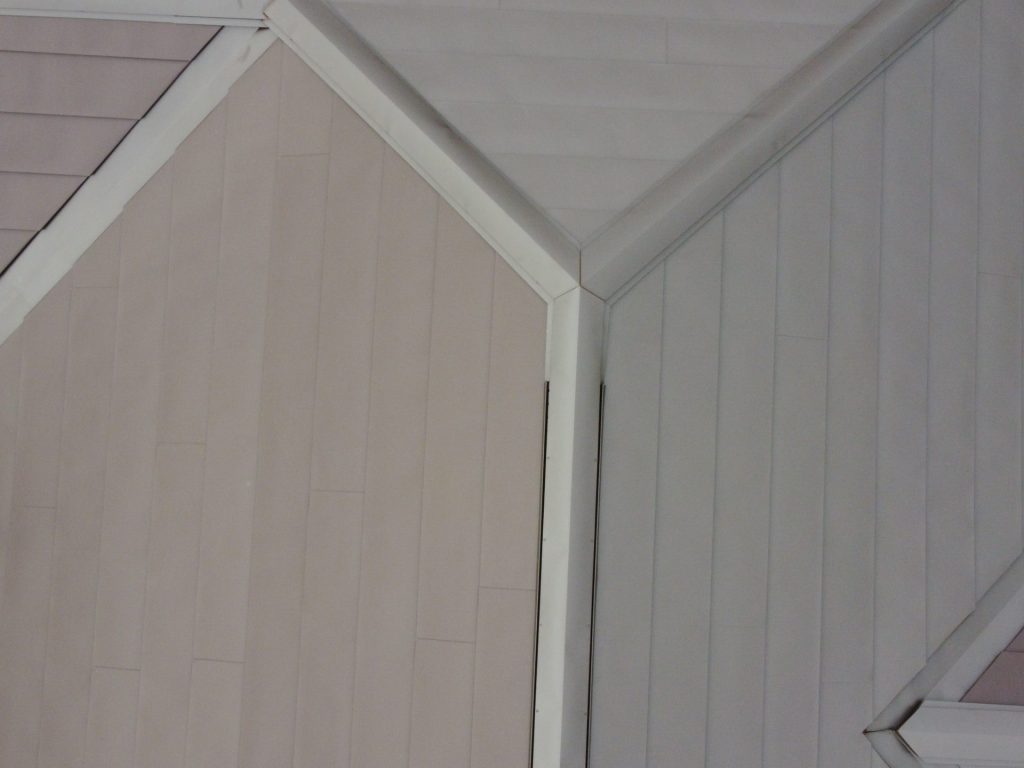
⑦棟板金取付
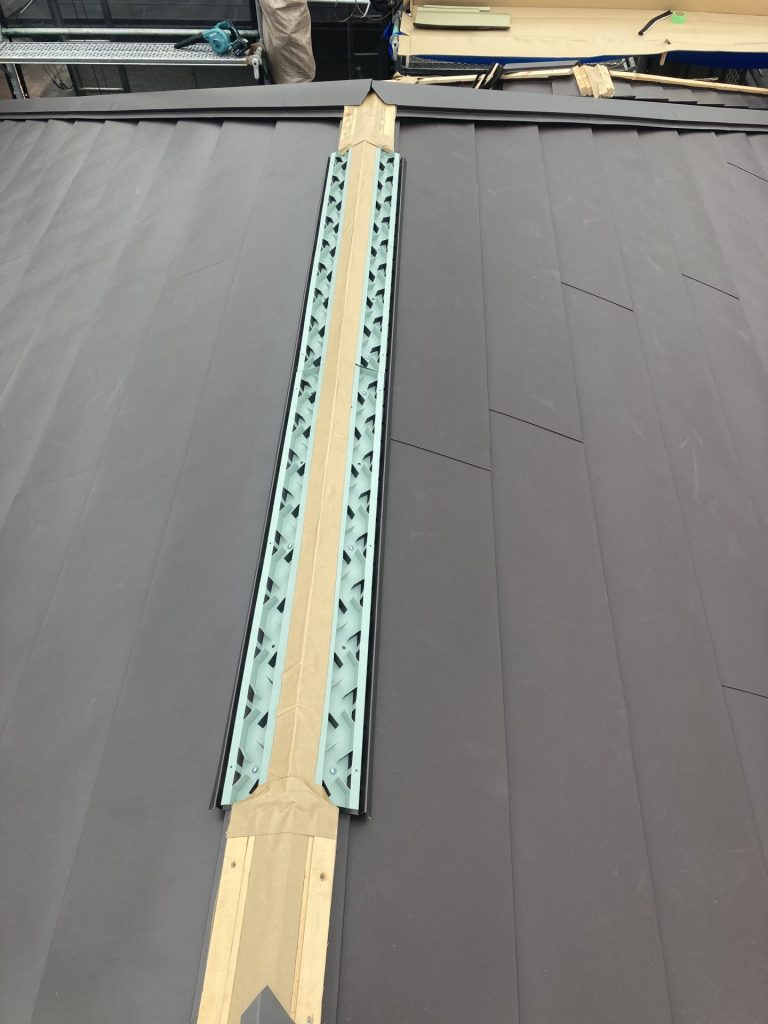
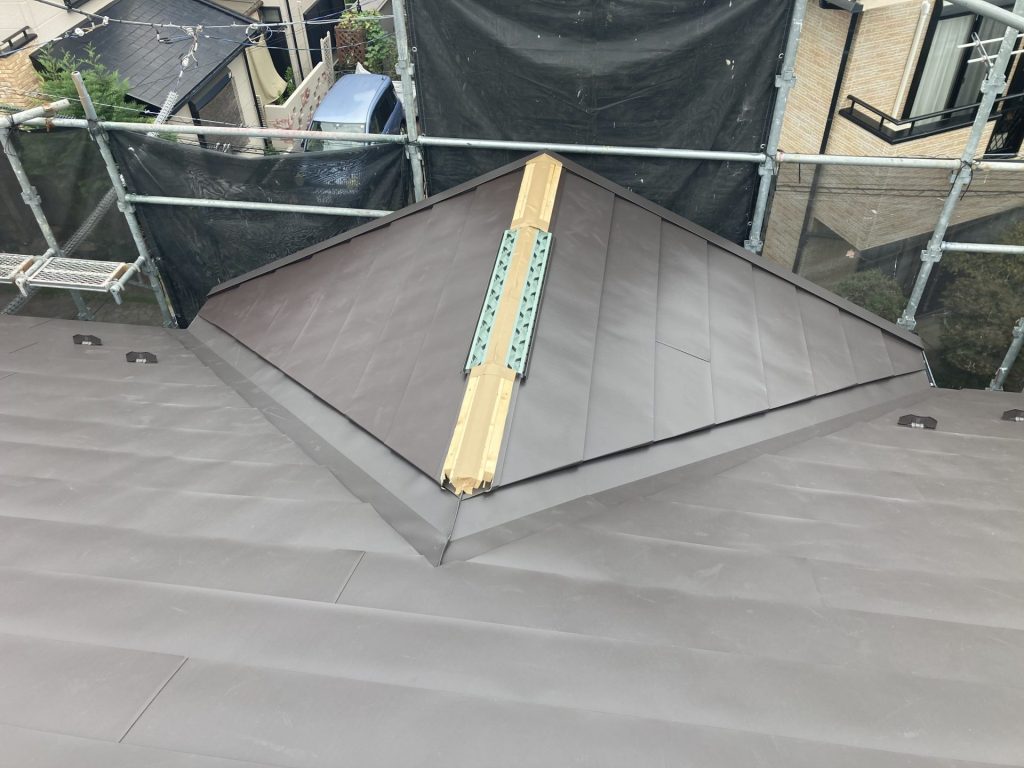
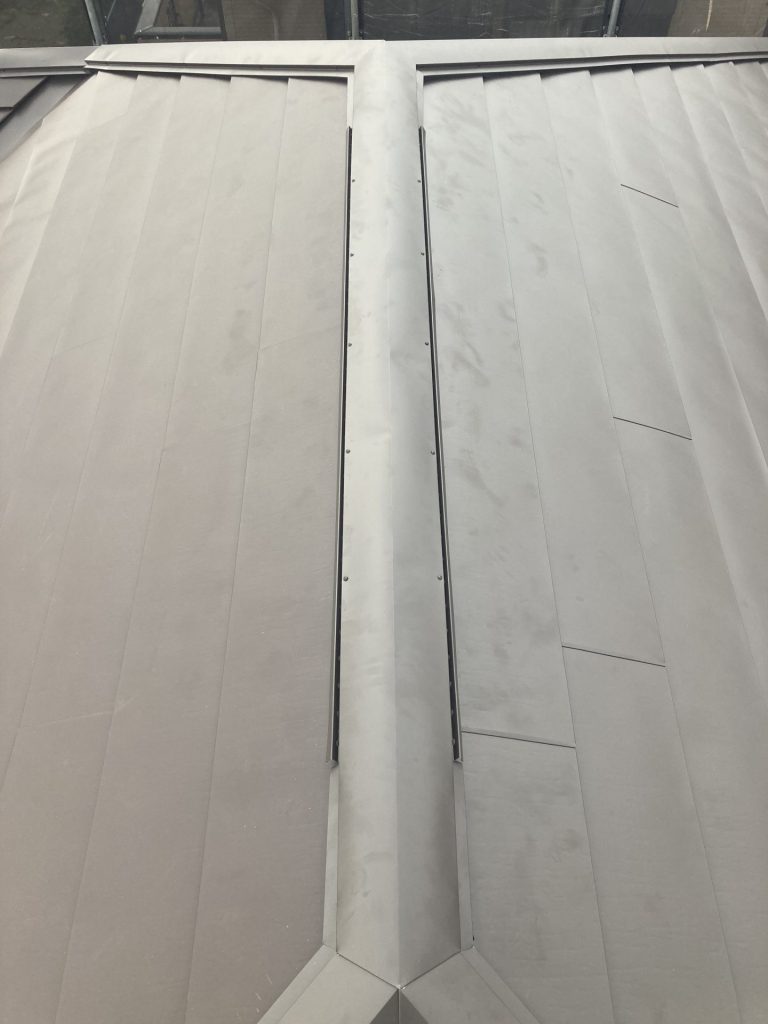
隅棟取付後、棟板金、換気棟を取り付けていきます。
⑧カバー工法工事完了
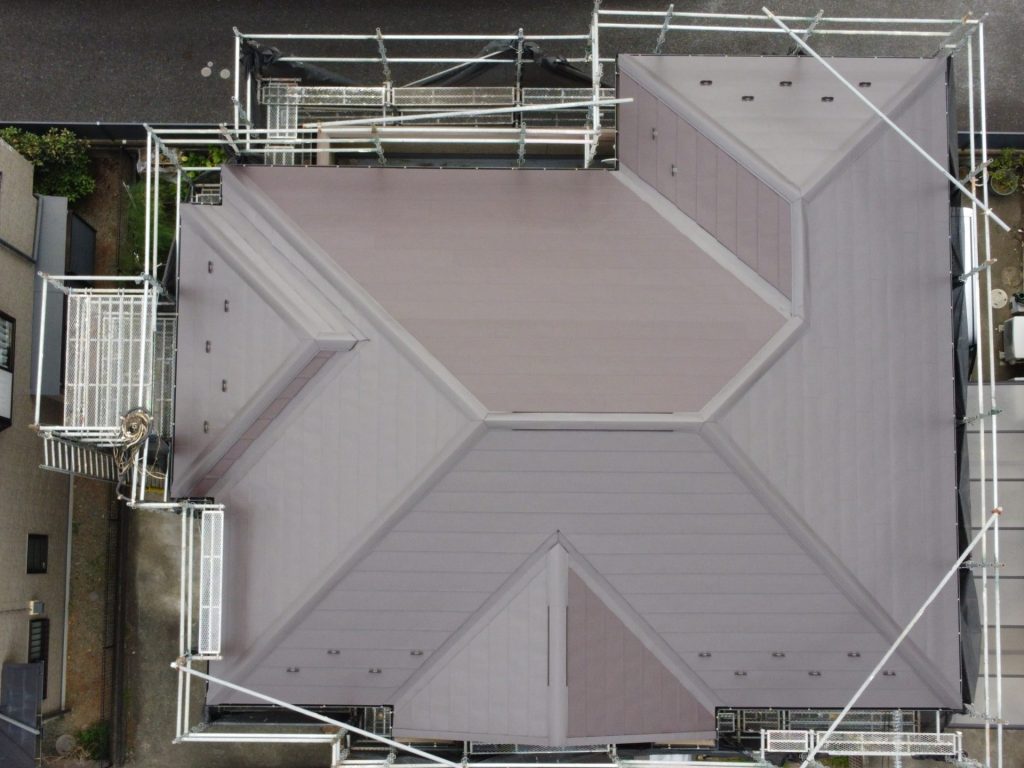
屋根の清掃、太陽光パネルを設置しカバー工法工事が終了となります。